In recent years, hydroponic gardening has gained immense popularity among urban gardeners and agriculture enthusiasts. This innovative method of growing plants without soil, using nutrient-rich water solutions, offers numerous benefits, including faster growth, higher yields, and efficient use of space and resources.
Setting up your own hydroponic greenhouse in Central Coast can be a rewarding venture, whether you're a seasoned gardener or just starting out. Here’s a step-by-step guide to help you create your very own hydroponic oasis.
1. Choose a Suitable Location
The first step in setting up your hydroponic greenhouse is selecting an appropriate location. Look for a spot that receives ample sunlight throughout the day, ideally south-facing, to maximise sunlight exposure. Ensure the area is well-ventilated and offers easy access to water and electricity.
If setting up indoors, consider using grow lights to supplement natural sunlight. Remember, the success of your hydroponic system depends largely on providing the right environmental conditions for your plants.
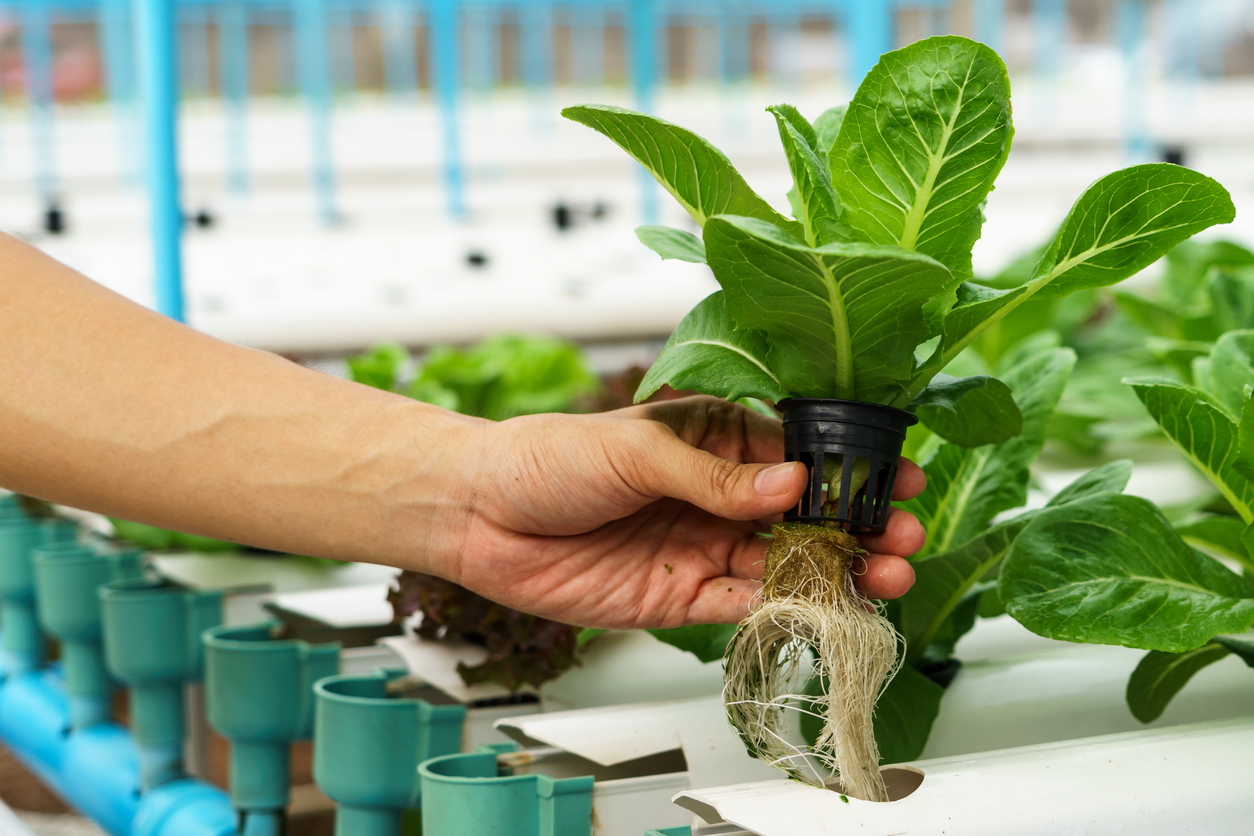
2. Set Up Your Growing System
Next, decide on the type of hydroponic system you want to use. Each system has its own advantages and complexities, so select one that suits your space, budget, and level of expertise.
You can either purchase a ready-made system or build one yourself using readily available materials and DIY guides.
3. Gather Essential Supplies
Before you start planting, gather all the necessary supplies for your hydroponic setup. This includes:
- Growing containers or trays
- Growing medium
- Nutrient solution and pH testing kit
- Water pump and tubing (for circulation systems)
- Growing lights (if growing indoors)
- Seeds or seedlings of your chosen plants
- pH adjusters (to maintain optimal nutrient uptake)
Ensure all equipment is clean and sterilized to prevent the spread of diseases and algae growth within your system.
4. Install and Test Your System
Once you have all your supplies ready, it's time to set up your hydroponic system. Install the growing containers or trays according to your chosen system's specifications.
Place the water reservoir or nutrient tank nearby and connect the water pump and tubing if required. Fill the reservoir with the nutrient solution, following the manufacturer's instructions for dilution. Test the pH and adjust it to the optimal range for your plants (usually between 5.5 and 6.5 for most crops).
After setting up, run your system for a few days without plants to ensure everything is functioning properly. Check for any leaks, monitor the nutrient levels, and make necessary adjustments to maintain a stable environment.
5. Start Planting and Maintenance
With your hydroponic system up and running smoothly, it's time to plant your crops. Place your seeds or seedlings into the growing medium within the containers or trays.
Ensure proper spacing to allow room for growth and prevent overcrowding. Monitor your plants closely, adjusting nutrient levels and pH as needed. Keep an eye on water levels and top up with the nutrient solution regularly to prevent drying out.
Regular maintenance is key to a successful hydroponic garden. Monitor plant health for signs of nutrient deficiencies, pests, or diseases. Prune plants when necessary to encourage healthy growth and prevent overcrowding. Rotate crops periodically to prevent nutrient depletion in the growing medium.
Conclusion
By following these steps, you can create a thriving hydroponic greenhouse Central Coast right in your backyard or indoor space. Experiment with different crops and hydroponic techniques to discover what works best for you. Not only will you enjoy fresh, homegrown produce year-round, but you'll also contribute to sustainable gardening practices by conserving water and reducing environmental impact. Happy growing!